今更ぽいけどJenkinsのPipelineの環境構築してみた
仕事でiOS SDKのテスト・ビルドをJenkinsでGithub Pull Request BuilderとかBitbucket Pull Request Builderとかのプラグイン使いながらなんとか構築した途端にJenkins Pipelineの存在を知ってしまったので軽く落胆しながらもローカルのMac PCで動かすまでの環境構築をしてみました
Jenkinsインストール
Homebrewでインストールしてみる
$ brew search jenkins
homebrew/versions/jenkins-lts                                       jenkins                                                             jenkins-job-builder
Caskroom/cask/jenkins-menu

$ brew install jenkins
==> Using the sandbox
==> Downloading http://mirrors.jenkins-ci.org/war/2.54/jenkins.war
==> Downloading from http://ftp.yz.yamagata-u.ac.jp/pub/misc/jenkins/war/2.54/jenkins.war
######################################################################## 100.0%
==> jar xvf jenkins.war
==> Caveats
Note: When using launchctl the port will be 8080.

To have launchd start jenkins now and restart at login:
  brew services start jenkins
Or, if you don't want/need a background service you can just run:
  jenkins
==> Summary
🍺  /usr/local/Cellar/jenkins/2.54: 7 files, 69.9MB, built in 16 seconds
Jenkins起動
とりあえず動作確認したいだけなのでjenkinsコマンドで起動してみる
$ jenkins                                                                                                                                                                     [~]
Running from: /usr/local/Cellar/jenkins/2.54/libexec/jenkins.war
webroot: $user.home/.jenkins

*************************************************************
*************************************************************
*************************************************************

Jenkins initial setup is required. An admin user has been created and a password generated.
Please use the following password to proceed to installation:

********************************

This may also be found at: /Users/toru.furuya/.jenkins/secrets/initialAdminPassword

*************************************************************
*************************************************************
*************************************************************
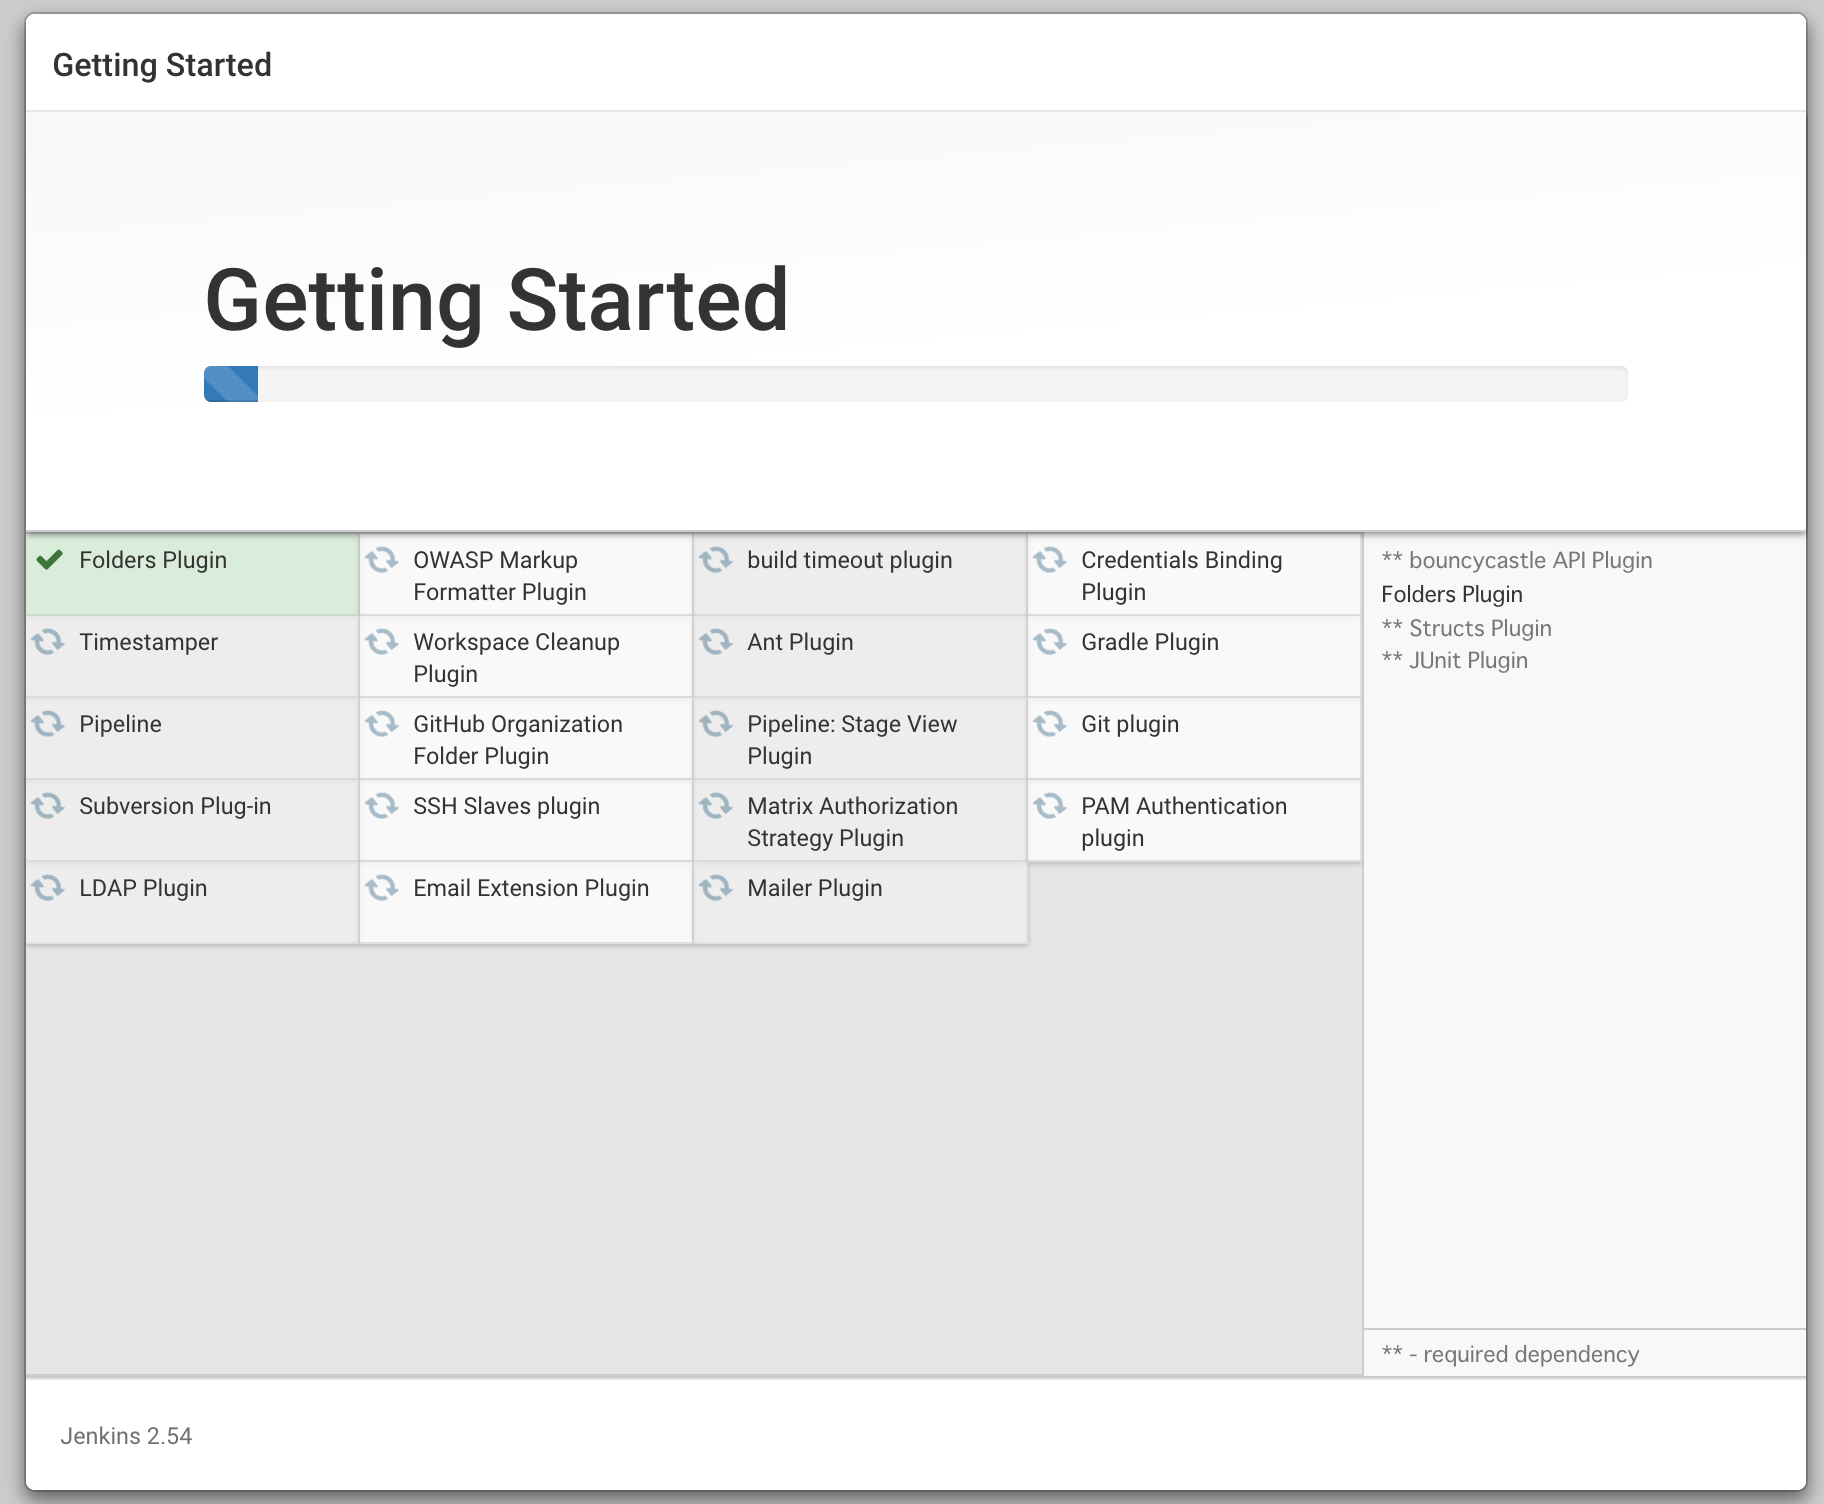
ブラウザでlocalhost:8080にアクセスして推奨プラグインをインストールする
Jenkins Job作成
新規ジョブ作成からGithub Organizationsを選択してジョブ作成する
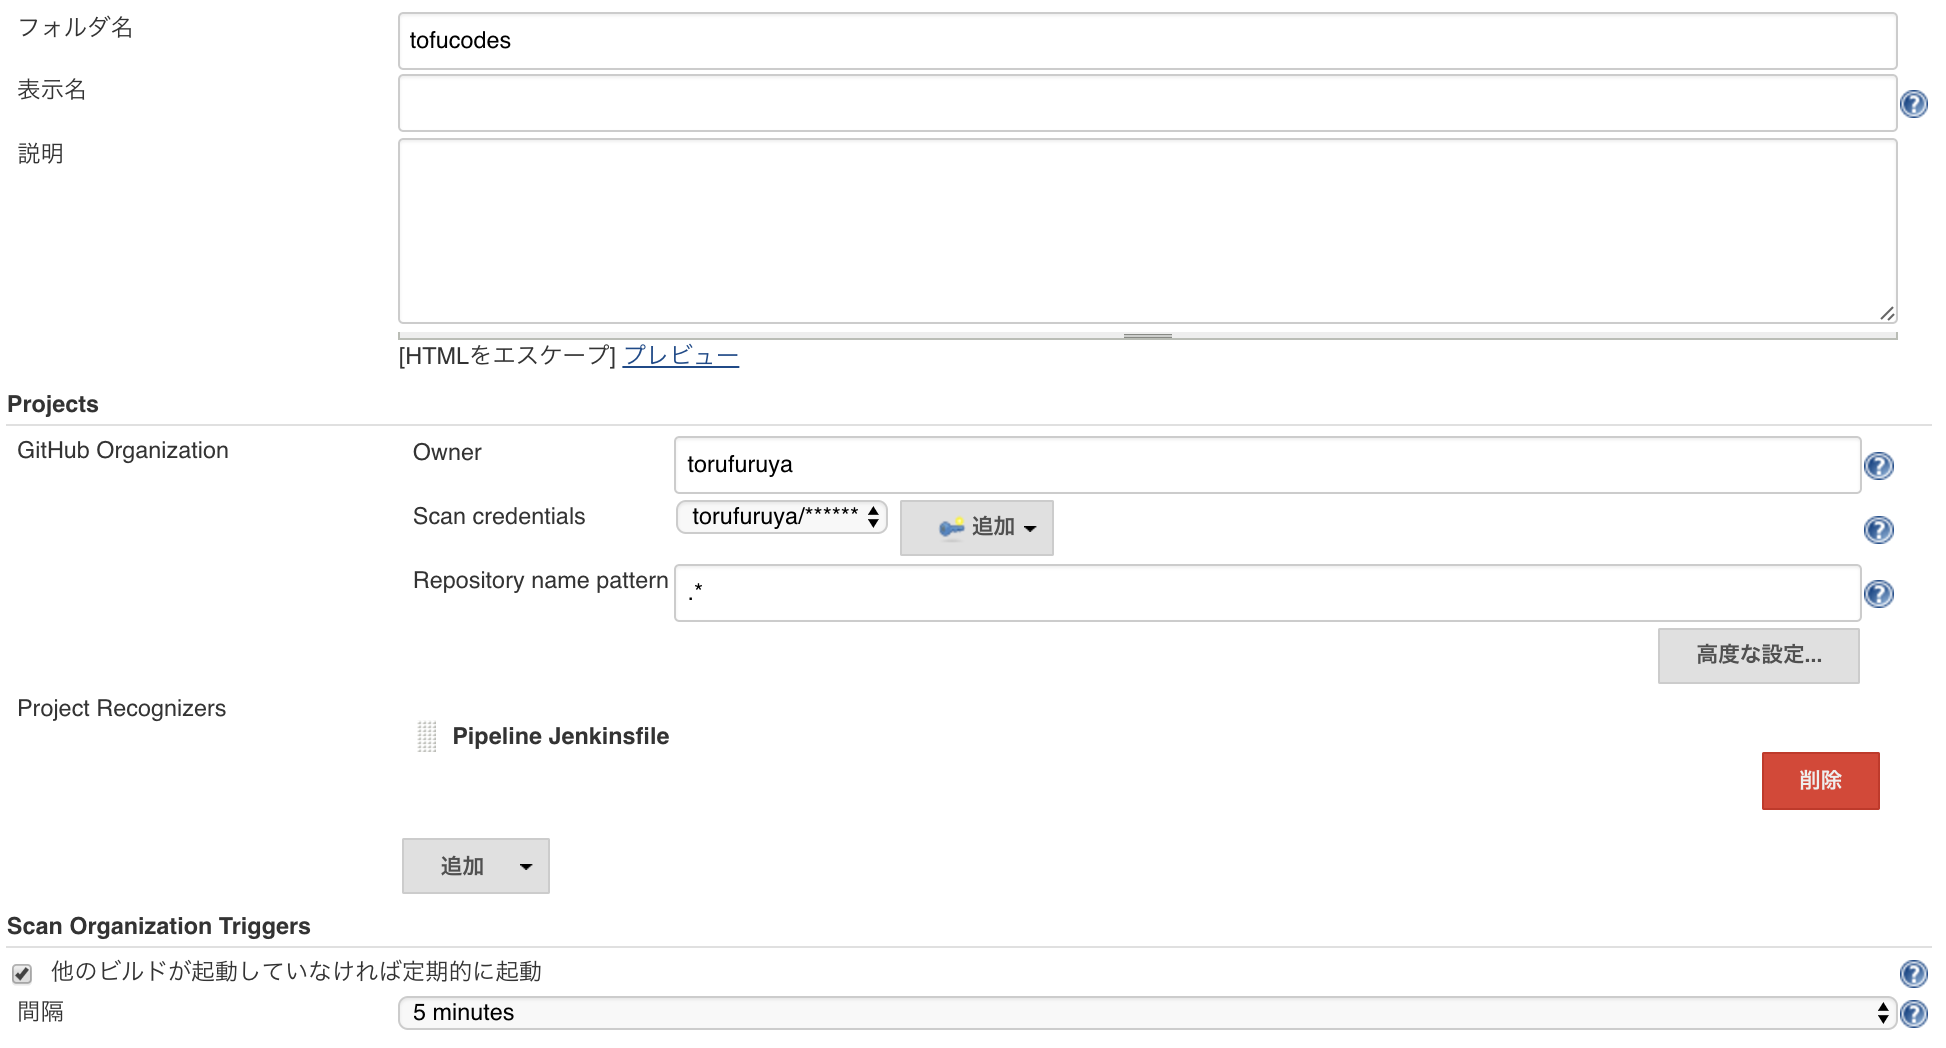
Scan credentialsは追加ボタンからGithubのusername/passwordを入力して新規作成する。 Credentialが不正だとInvalid的なメッセージが出てくるので分かりやすい
Jenkinsfile作成
2通りの文法があるらしい。今回はとりあえず最近追加された方のDeclarative方式にしといた。詳細はリンクを参照
https://jenkins.io/doc/book/pipeline/jenkinsfile/
pipeline {
    agent any

    stages {
        stage('Build') {
            steps {
                echo 'Building..'
            }
        }
        stage('Test') {
            steps {
                echo 'Testing..'
            }
        }
        stage('Deploy') {
            steps {
                echo 'Deploying....'
            }
        }
    }
}
githubにサンプル用のレポジトリ作成してJenkinsfileをcommit
https://github.com/torufuruya/pipeline-sample
Scan実行
Scanログ見てるとこんな感じのがずらーっと流れてくる。どうやらサンプル用のレポジトリを見つけてくれたぽい
Proposing pipeline-sample
Looking up torufuruya/pipeline-sample
  Getting remote pull requests...

  0 pull requests were processed

  Getting remote branches...

    Checking branch master
      ‘Jenkinsfile’ found
    Met criteria

  0 branches were processed (query completed)

Done examining torufuruya/pipeline-sample
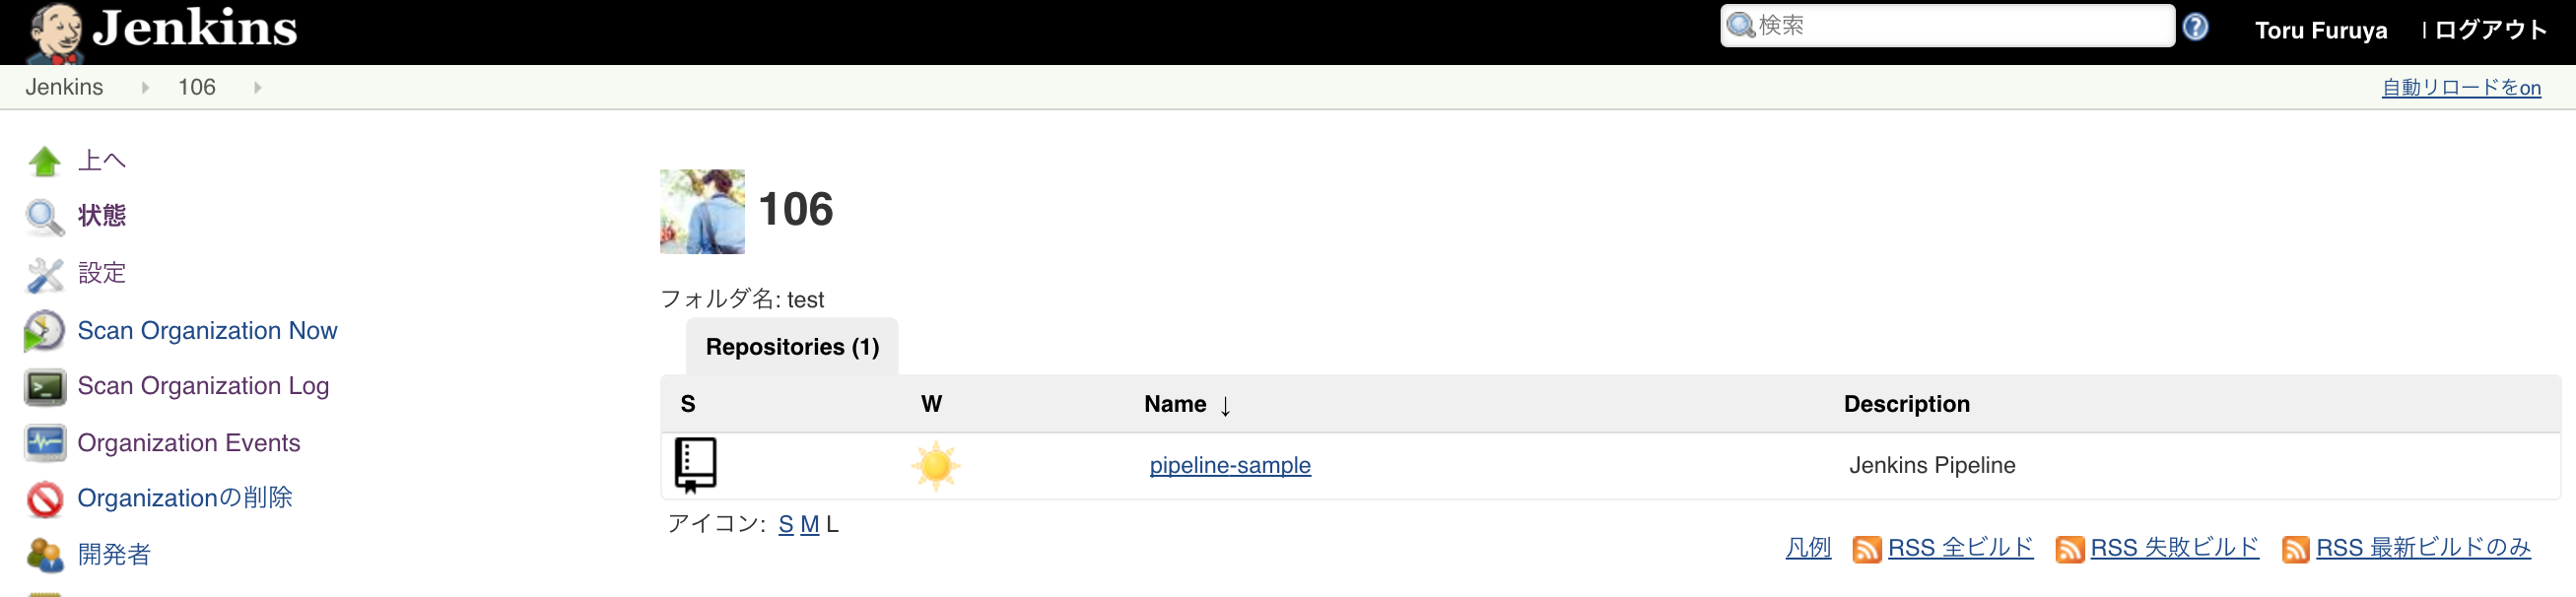
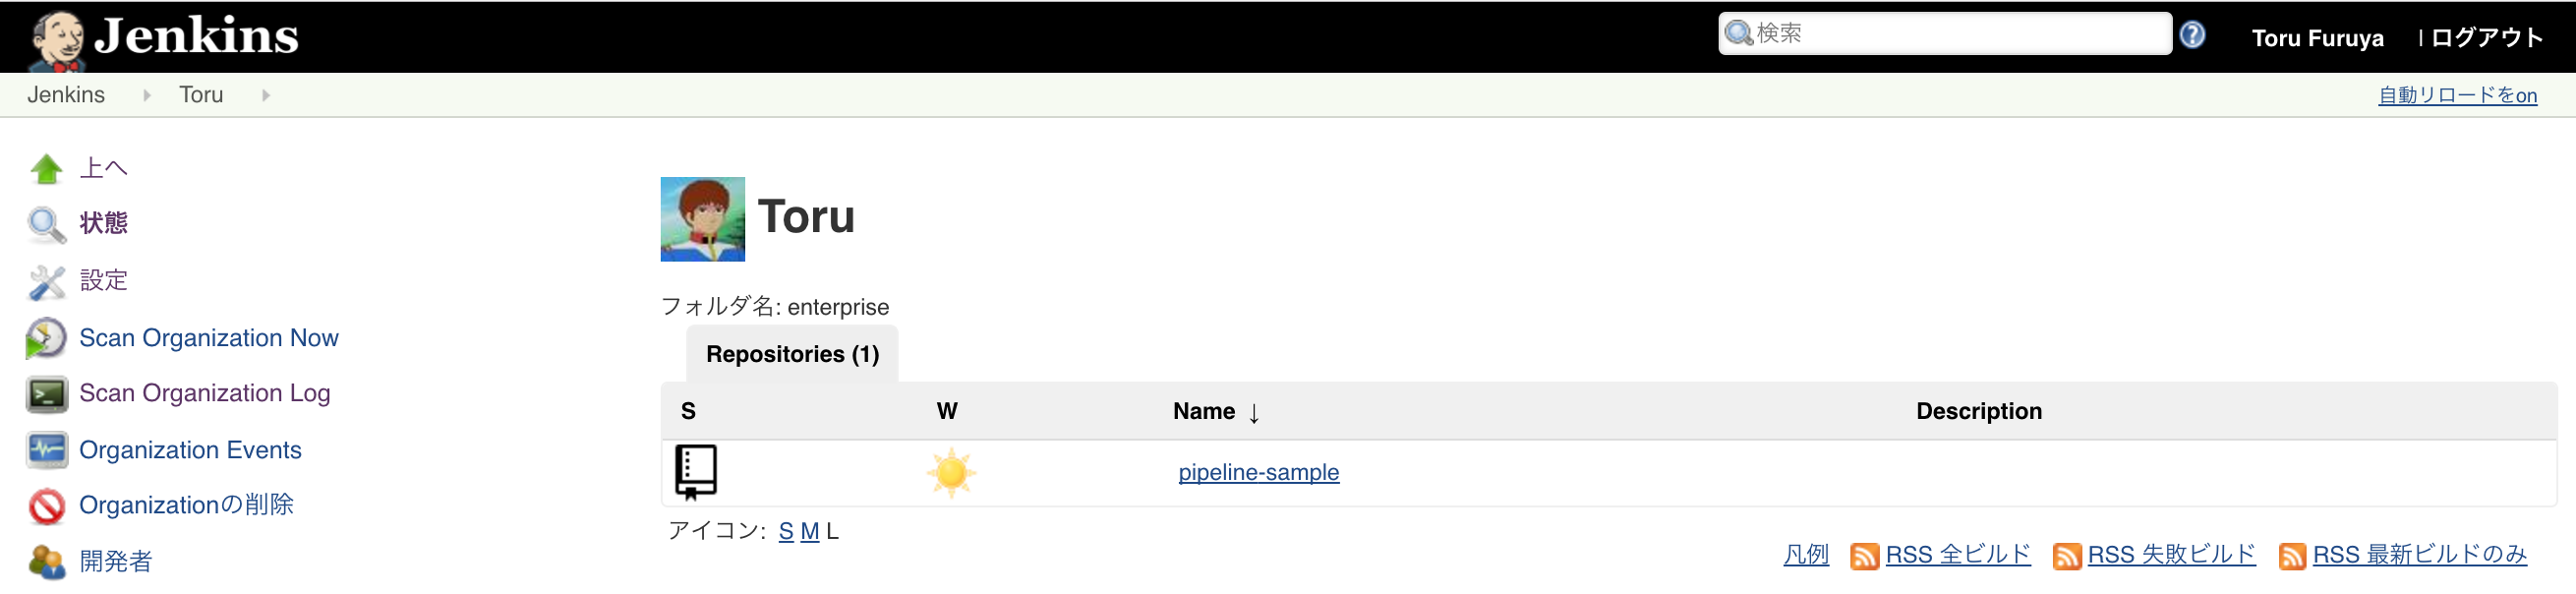
Scanが終わるとこんな感じでJenkinsファイルを配置したレポジトリが管理できるようになった。超簡単
Github Enterpriseでの利用
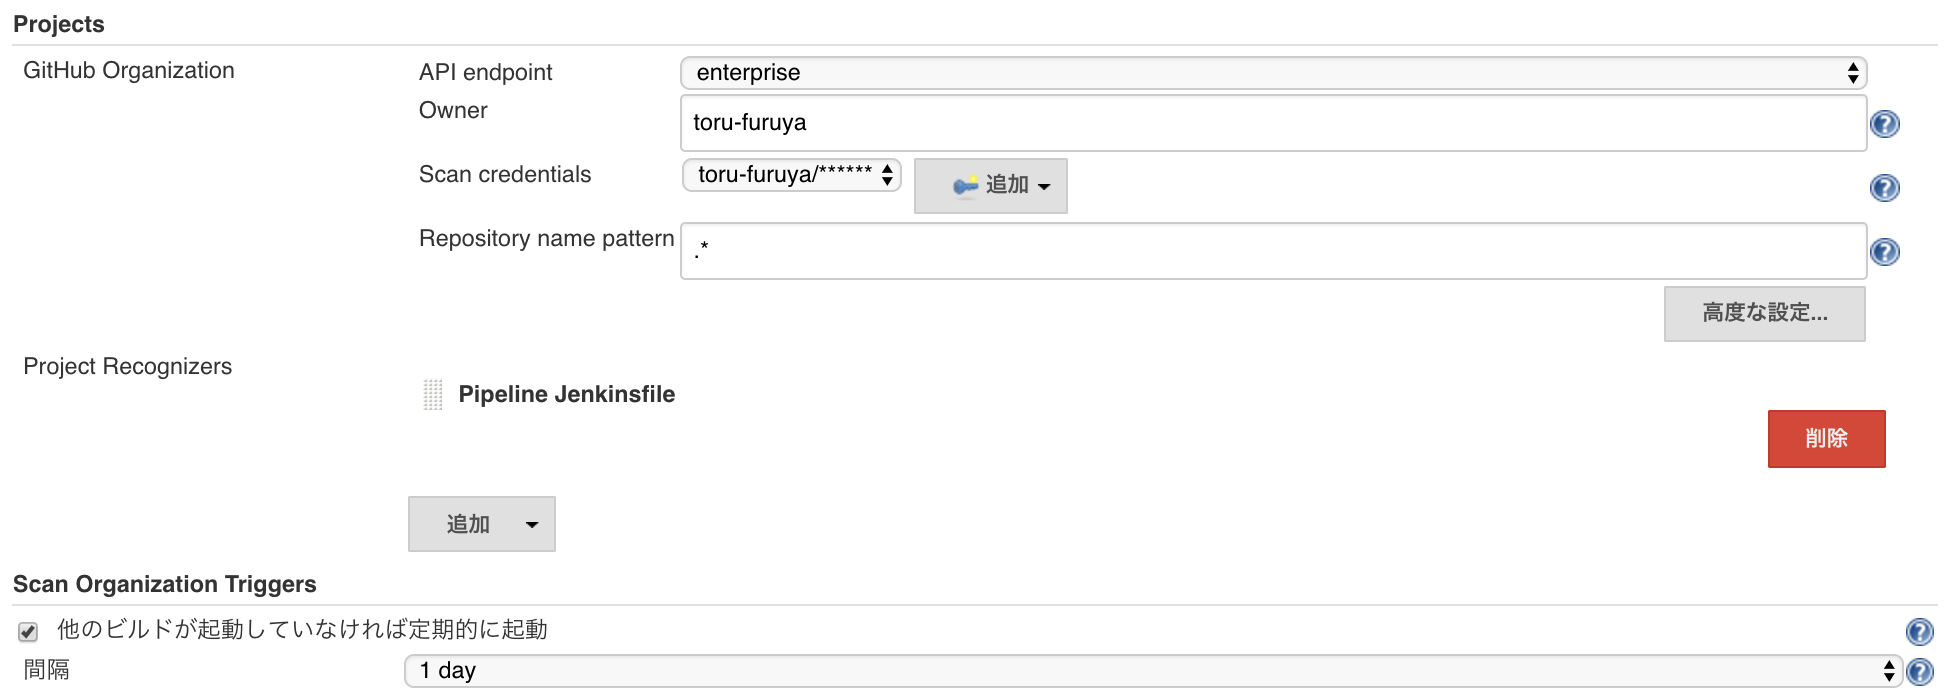
Jenkinsの管理 > システムの設定 > GitHub Enterprise Servers を追加する。Nameは任意のものでOkay

Job作成は最初と全く同じ手順で行うけど、Jenkinsのシステム設定を変更したことによりここでProjectsにAPI endpointの項目が追加される。でさっき作成したGithub Enterprise用のものを選択して再度Credentialsを作成して完了
Github EnterpriseのレポジトリにJenkinsfile配置してScan実行
Proposing pipeline-sample
Looking up toru-furuya/pipeline-sample
  Getting remote pull requests...

  0 pull requests were processed

  Getting remote branches...

    Checking branch master
      ‘Jenkinsfile’ found
    Met criteria

  0 branches were processed (query completed)

Done examining toru-furuya/pipeline-sample
後記
めちゃくちゃ簡単。恐ろしく簡単。今までJenkinsのWEB UIでぽちぽちしながらメンテしてたジョブたちがコードで管理されると思うと嬉しさしかない。はやくテストとか実行したい。わくわく
以下のサイトを参考にさせていただきました